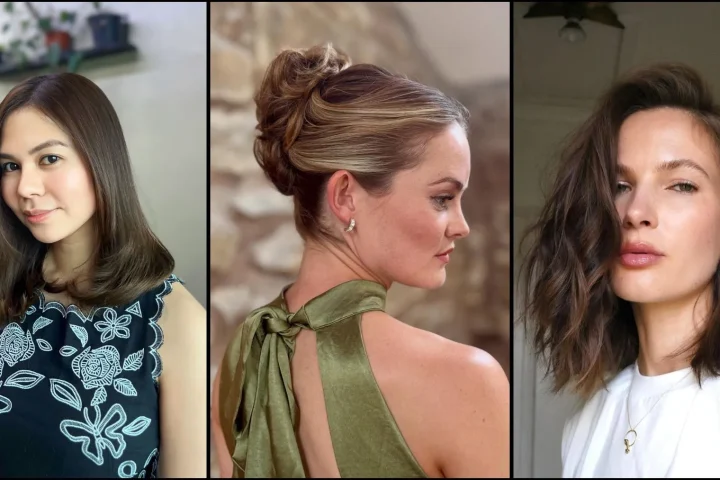
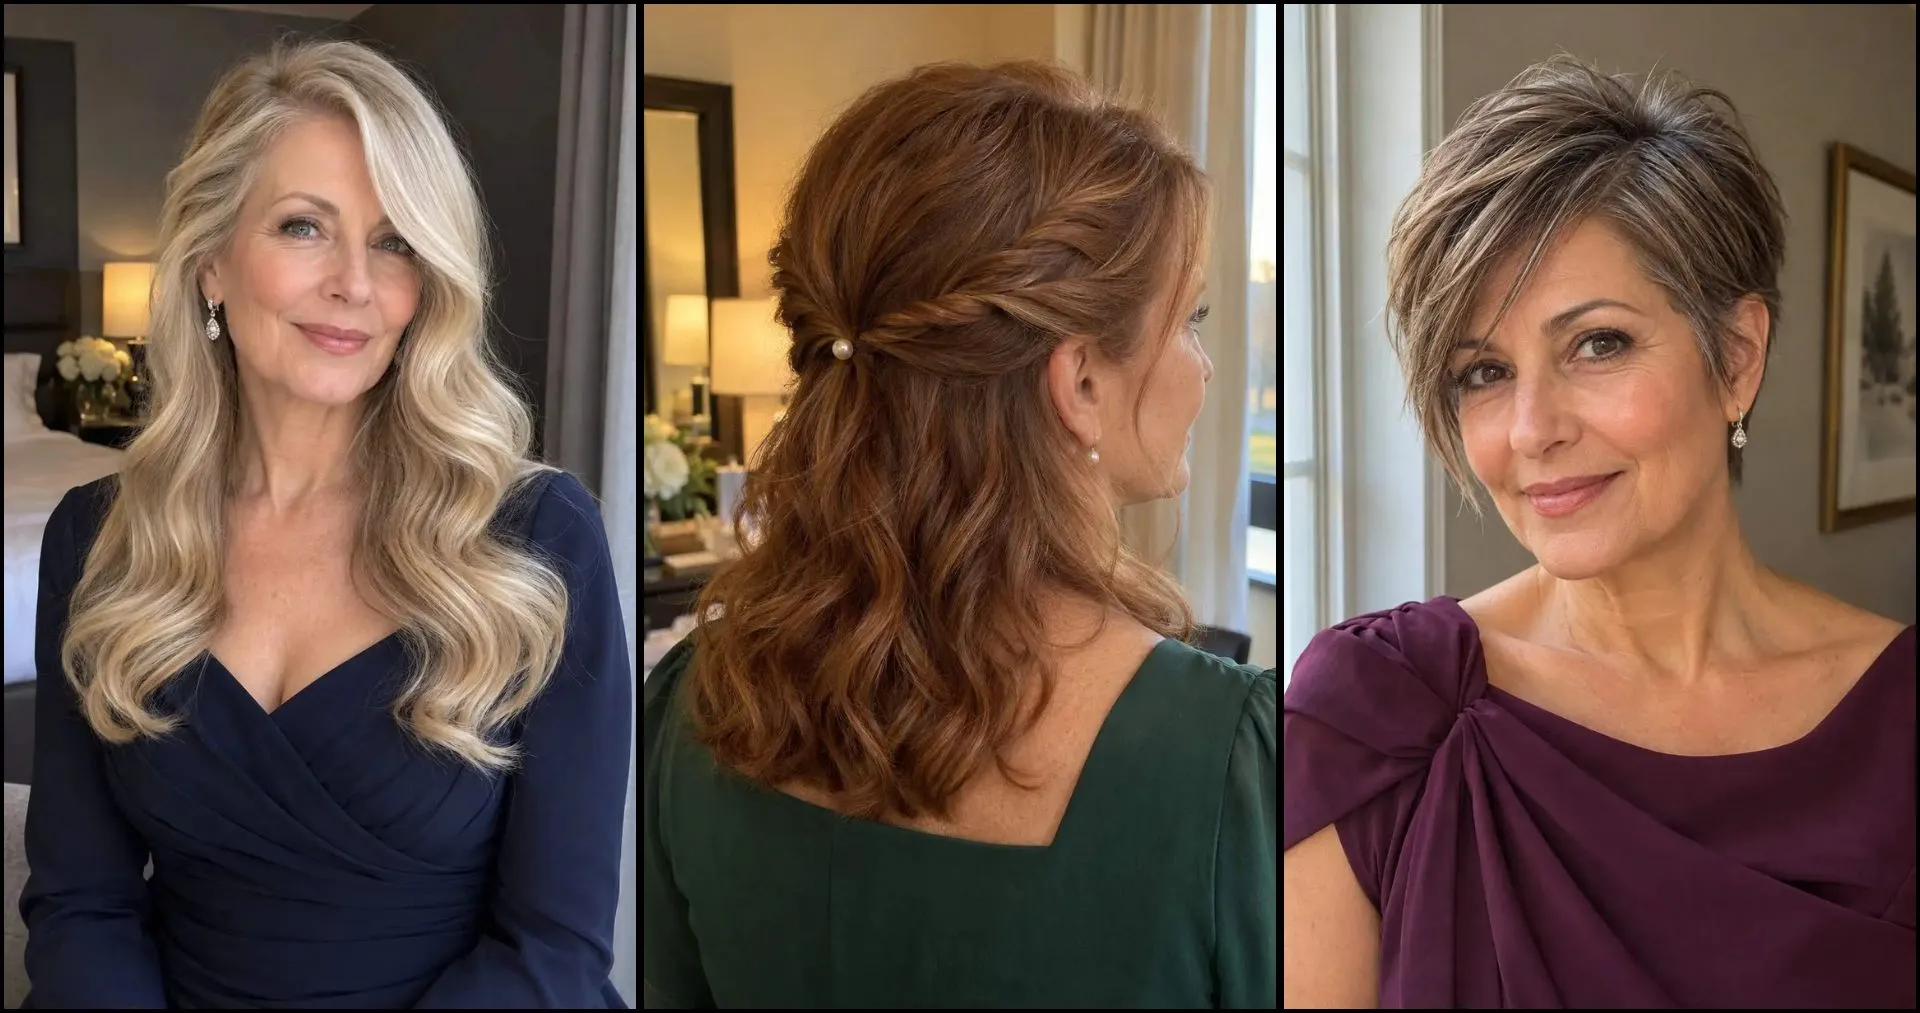
A wedding hair trial is a rehearsal, not a preview. It is the one appointment where you find out whether the hairstyle you have saved works with your hair, your veil and your dress — before the day when there is no time to start again. Bring the things that change the result with you, and the trial can settle the shape, the accessories and the timing in a single visit. Go in without them, and you may leave with a style that falls apart by the first dance.
The trial is also where the practical questions get answered. How long does it take from washed hair to the last pin? Does the veil sit where you imagined it when you move? Can you sit, dance and eat with the style in, and will it still look like itself in photographs hours later? A good trial answers all of that and leaves you with photographs and notes the stylist can repeat on the day. The checklist below walks through what to bring, what to test and how to use the trial to work out the timing, so the wedding morning runs on a plan instead of guesswork.
Bring photographs of your hair as it normally looks
Take one front and one back photo in ordinary light. Include your natural texture, your current length and any fringe or layers. Your stylist can then explain which references need padding, extensions or additional preparation. If you plan to wear curls or coils naturally, show those in their usual dry state.
Collect only a few hairstyle references. Write down what you like about each: a low shape at the nape, a visible curl pattern, a face-framing piece or an accessory position.
Choose the silhouette with your dress
A high neckline may pair well with a hairstyle that keeps hair away from the collar, while an open neckline leaves more room for hair down. Those are starting points, not strict rules. Think about which parts of the dress you want visible in photos and whether hair will catch on lace or beading.
Compare hairstyles by dress neckline, low bridal buns and half-up wedding hair before deciding on the broad shape.
Try the actual veil and accessories
Bring your veil, comb, pins, clips or a similar substitute to the appointment. Check where the accessory sits, how it is secured and whether it can be removed without disturbing the style. A veil placed above a bun can look different from one tucked underneath it. If you have a tiara, consider whether the part and hairline work around its base.
The tiara hairstyle guide and bridal flowers guide show different placements worth discussing with your stylist.
Test comfort, movement and hold
At the trial, move your head as you would while greeting guests and dancing. Sit down, turn sideways and check whether pins or combs pull at the scalp. Photograph the hairstyle from the front, side and back. Ask which loose strands are intentional and which might need securing for wind or humidity.
A very tight style is not necessarily the longest lasting. The American Academy of Dermatology warns that repeated traction from tight hairstyles can damage hair. Tell your stylist immediately if an anchor feels painful.
Plan around your hair type and the weather
Fine hair may need a different support structure from dense or coarse hair. Naturally curly hair can change length as it dries, while smooth hair may need help holding a bend. Ask what your stylist recommends for your actual texture, whether the result relies on setting time and how it may change after several hours.
If the ceremony is outdoors, consider wind, rain and humidity. A style that looks effortless in a studio photograph can behave differently during travel. Discuss a small, realistic backup plan instead of assuming that more hairspray will solve every problem.
Use the trial to work out timing
Record how long washing, drying, styling and accessory placement take. Make space for interruptions, photographs and putting on the outfit. Ask whether your hair should be freshly washed, washed the night before or prepared with a particular product, then follow the stylist’s instructions rather than an internet rule that applies to someone else’s hair.
If several people are having their hair styled, share accurate lengths and requested looks in advance. The bridesmaid hairstyles guide can help set expectations for different textures and lengths.
Take clear photos and notes after the trial
- Capture the finished style from front, back and both sides.
- Note which accessory and pin positions felt comfortable.
- Record what loosened or became frizzy after several hours.
- Check whether face-framing pieces interfered with eating, speaking or photographs.
- Tell the stylist exactly which adjustments you want at the final appointment.
The goal is a practical brief you and the stylist can repeat, with room for small changes. You do not need to duplicate every curl in the original inspiration photograph.
Choose a plan you can wear all day
A hairstyle that suits your texture and stays comfortable may be more useful than a complicated look requiring constant fixing. Before settling on the final version, check the veil removal plan, expected travel conditions and whether you want to switch accessories for the reception.
For further references, browse wedding styles for short hair, medium-length wedding updos or long hair with veils.
A sample trial-day timeline
A trial usually takes between one and two hours, and the order matters. Arrive with clean, dry hair that has been washed the day before, so the stylist is working with the texture your hair will have on the day. Start by showing the reference photographs and the photographs of your own hair, then try the veil or headpiece in place before the styling begins — the shape of the style depends on where the veil sits, and it is much harder to move a veil once the style is pinned. The stylist will usually build the shape first, then set the accessories, then check the back and sides with you in a hand mirror.
Allow time for changes. Most trials need one or two adjustments — a lower gather, a softer front section, a different pin position — and it is better to find those out now than on the wedding morning. Once the shape is settled, wear it for a few hours if you can. Walk around, sit down, turn your head and check whether anything pulls, slips or catches on the dress. Note the time each step took, because that becomes the schedule for the wedding day: washing and drying, styling, accessory placement, and a little room for interruptions.
Bring a small bag with you. Reference photographs of the styles you like, photographs of your hair as it normally looks, your veil or headpiece and the pins or clips that go with it, a photograph of your dress neckline, and any extensions you plan to wear. If several people are having their hair styled on the day, share accurate lengths and requested looks in advance, so the stylist can plan the order and the time each person needs. Leave with the photographs and notes from the trial — front, back and both sides — so the style can be repeated exactly.
Frequently asked questions
When should I book my hair trial?
Book the trial once the dress and the veil are decided, usually two to three months before the wedding. That leaves time for a second look if the first style does not work, and for the stylist to order anything the style needs. If you are travelling for the wedding, ask the stylist about doing the trial a few days before the day, and bring everything with you.
How much does a wedding hair trial cost?
Trials are usually charged separately from the wedding day styling, and the price varies with the salon, the length of the appointment and whether a second style is tried. Ask for the full price before you book, including any charge for extensions or extra accessories. If the trial is with the same stylist who will do the wedding day, the trial is part of the planning, not an extra.
What if I hate the style at the trial?
Say so plainly — the trial exists to find that out. Describe what feels wrong rather than saying you do not like it: too high, too tight, too much hair at the front, the veil in the wrong place. A good stylist will adjust the shape or suggest a different one, and there is still time to try another style. Do not agree to a style you are unsure about just because the appointment is nearly over.
How many styles should I try at one trial?
One style, done properly, tells you more than three rushed ones. Start with the style you most want, and use the time to test it: the veil position, the comfort, the way it holds after a few hours. If it clearly does not work, try one alternative in the same appointment. More than that, and you will not know what held and what did not.
How should the trial time the wedding day?
Note the time each step took at the trial — washing and drying, styling, accessory placement — and add time for interruptions. The wedding morning runs on that schedule, with the bride usually styled so the hair is finished in time for photographs. If several people are having their hair styled, the stylist plans the order around who needs to be ready first.
The trial is the part of wedding planning that saves the most stress on the day. A style that has been tried with the real veil, the real dress neckline and the real hair — and worn for a few hours — is a style you can trust. Use the checklist, bring the bag, take the photographs and leave with notes the stylist can repeat. Then the wedding morning is simple: wash, dry, style, pin, and walk out knowing the hair will hold.